Fix Crooked Saddle Stitches: Awl Angles & Thread Tension
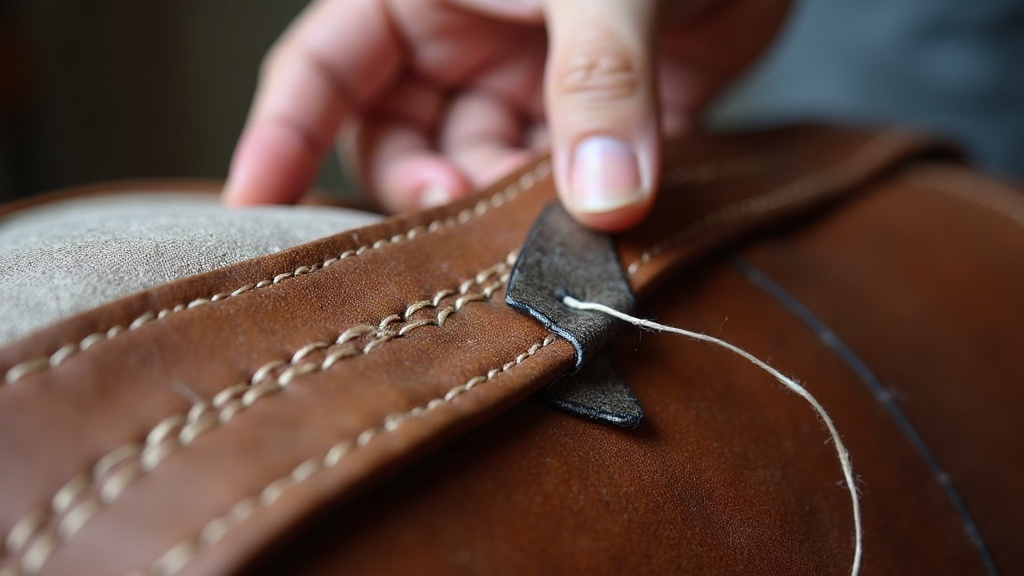
There’s nothing quite as deflating as finishing a wallet or bag you’ve poured hours into, flipping it over, and spotting a seam that zigzags instead of marching along in that clean, slanted rhythm you were after. If this sounds painfully familiar, take a breath: you’re in good company. Getting that coveted professional slant comes down to two things you can actually control: how you pierce the leather, and how you pull the thread. Below, we break down exactly how to fix crooked saddle stitches, zeroing in on diamond awl angles and thread tension so you can tighten up your technique for good.
The Anatomy of a Perfect Saddle Stitch
Before you can fix a crooked stitch, you need a clear picture of what “correct” actually looks like. A diamond awl or stitching chisel cuts a slanted hole, usually sitting around 45 degrees. Sew through it properly, and the thread settles into that slit to form a cascading “staircase” pattern on the front, while the back shows a cleaner, straighter line.
Crooked stitches show up when the thread doesn’t seat evenly into the top and bottom corners of those diamond holes. Nine times out of ten, the culprit is one of two things: an inconsistent piercing angle, or sloppy tensioning.
Mastering Diamond Awl Angles
Working with a traditional stitching pony and a loose diamond awl? Start your troubleshooting with your piercing technique. It’s almost always the first domino to fall.
The 45-Degree Slant
Every pass of the awl blade needs to hit the leather at the same angle, typically 45 degrees relative to the stitch line. Twist your hand even a hair while piercing, and the exit hole on the back shifts up or down. That small shift changes the shape of the slit, and the thread ends up sitting at a different angle each time, which is exactly what wrecks the uniform look of a seam.
Tool Positioning and Posture
The fix: keep the awl perpendicular to the leather’s face, full stop. Your forearm, wrist, and the awl handle should form one rigid line, no wobble. Your seating position plays into this more than people expect, too. Sit at an angle to your stitching pony and your strikes will naturally slant without you noticing. Square up, grab a scrap piece, and punch through it slowly, checking each exit hole as you go. They should mirror the entrance holes almost exactly, lined up straight and evenly spaced.
The Role of Thread Tension
Punch your holes perfectly and you can still end up with a crooked stitch if your thread handling is off. Tension isn’t just about pulling hard; it’s about pulling in the right direction.
The Pulling Direction
Every completed stitch involves the two threads crossing inside the leather. To lock them into the far corners of that diamond slit, pull one thread slightly upward and toward you, the other downward and away (the exact angles shift a bit depending on your casting method). Pull both threads straight out horizontally instead, and they’ll just fight each other for the center of the hole, leaving you with a flat, misaligned stitch.
Applying Even Force
Too tight, and you pucker the leather, warping the edge so the stitches look pinched and squeezed. Too loose, and the thread just sits outside the hole, exposed to abrasion and free to drift wherever it wants. What you’re after is a firm, confident tug, just enough to settle the thread flush against the surface. And that tension has to stay identical, stitch after stitch after stitch. One sloppy pull in the middle of an otherwise clean seam will stand out like a sore thumb.
Other Crucial Factors for Straight Stitches
Awl angle dialed in, tension consistent, but stitches still wandering? Check these three things before you blame your hands:
- Casting the Thread: A “cast” is simply the loop formed when you cross the needles before pulling the stitch tight. Skip consistency here and you’re basically guaranteeing uneven stitches. Pick one method, say, casting over the right needle every time, and stick with it for the whole seam. No switching halfway through.
- Thread and Chisel Matching: Sometimes the fix is just mismatched materials. Thread a 1.0mm cord through a fine 3.0mm chisel hole and it’ll bulge out awkwardly. Go the other way, a thin 0.4mm thread in a wide hole, and it’ll slide around with no interest in slanting properly. As a rule of thumb, a 4.0mm spacing pairs nicely with 0.6mm thread; that combo tends to hit the sweet spot.
- Awl Sharpness: A dull awl tears at leather fibers instead of slicing cleanly, and that distorts the hole shape before you even get to the thread. Keep it polished and genuinely sharp, not “sharp enough.”
Conclusion
Nailing the saddle stitch really comes down to muscle memory, careful observation, and not rushing yourself. Stay disciplined about your awl angle and keep that thread tension consistent and directional, and the crooked lines will disappear on their own. Grab a scrap piece of leather, slow way down, and really watch your form. Give it a few sessions and you’ll notice the shift from amateur-looking seams to something that actually reads as handmade, in the good sense.