Advanced Box Stitching for Rigid Leather Pen Cases
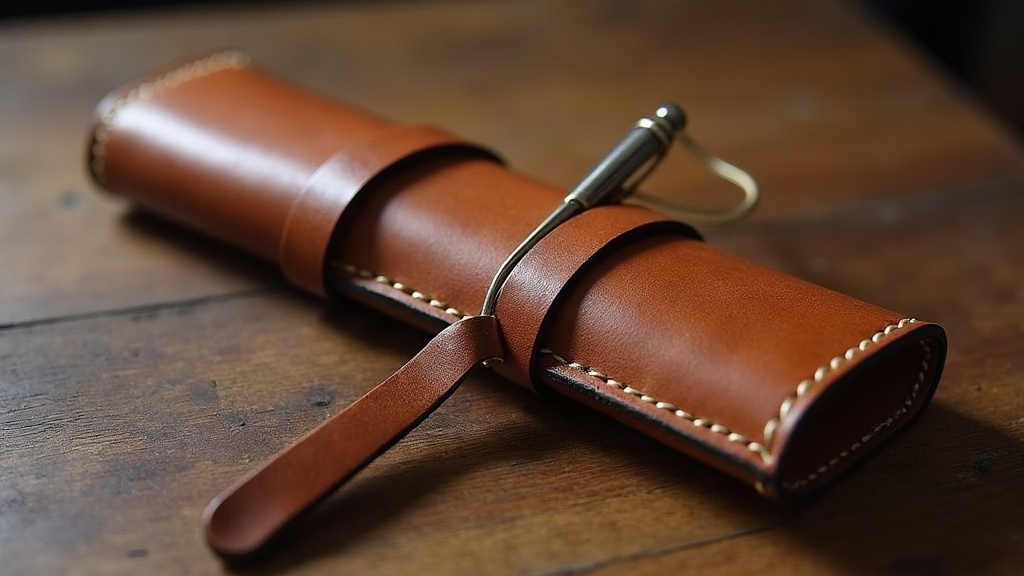
Building a rigid leather pen case that holds its shape, resists sagging, and shows off crisp, professional corners really comes down to one skill: box stitching. Unlike simple saddle stitching on flat panels, box stitching joins three-dimensional seams where walls meet at 90-degree angles. Get it wrong and you’ll end up with wobbly corners, visible gaps, or thread that frays the first time it’s put under real tension. This guide walks through the techniques that separate amateur pen cases from ones that look and feel like they came out of a premium studio.
Why Box Stitching Matters for Pen Cases
A pen case isn’t just a flat pouch. It’s a small rigid box, often holding one to three pens snugly, and that rigidity depends almost entirely on how well the corner seams are built. Sloppy stitching at the corners leads to:
- Gaps that let dust and moisture in
- Thread wear points that fail within months
- A “soft” box that won’t protect pens from a drop onto a hard floor
Done right, box stitching locks the walls together at a true right angle and spreads stress evenly along the seam. That’s exactly what a pocket-carried pen case needs, since it gets jostled, squeezed into bags, and dropped more often than people admit.
Choosing the Right Leather and Thread
Before you even thread a needle, your material choices decide how clean those corners will turn out.
Leather weight
- 8-9 oz (3.2-3.6mm) vegetable-tanned leather is the sweet spot for pen case walls: thick enough to hold shape without molding over time, thin enough to skive cleanly at the seams.
- Stay away from anything under 6oz for structural walls. It’ll either need a rigid liner glued in or it simply won’t hold a box shape at all.
Thread selection
- Waxed linen thread (Tiger thread or similar, 0.6-0.8mm) gives you the best balance of strength and low bulk right at the corner junctions, where three or four layers pile up.
- Pre-waxed polyester thread works too, but it can slip at tight corner turns. If you go this route, add extra wax by hand at the junction points, don’t skip it.
Preparing the Pieces for a True Box Corner
- Skive the edges that overlap or butt at corners down to roughly 50% thickness. Skip this and you’ll get a bulky, lumpy seam exactly where three or four layers converge.
- Mark your stitch lines with a pricking iron before assembly, not after. Once the box is folded, you lose any visual reference for even spacing, and eyeballing it rarely ends well.
- Use a corner template, a small acrylic or cardboard jig works fine, to check your 90-degree angle before you punch a single hole. Even 2-3 degrees of drift will compound visibly across a 10cm seam, and by the time you notice it’s already stitched shut.
The Box Stitch Sequence
Unlike flat saddle stitching, box corners need a specific needle path, or you’ll end up with bunched, lopsided thread at the vertex.
- Start stitching from the base of the box and work upward toward the opening. This keeps tension consistent as the walls come together.
- At the corner junction, pass both needles through the same hole from opposite leather layers, not adjacent holes. That’s what creates the locking cross-stitch right at the vertex.
- Pull each stitch taut with even pressure on both threads at the same time. Uneven pulling is honestly the number one cause of a leaning or twisted box corner, more so than bad leather or a dull needle.
- At the top edge, finish with a backstitch of 3-4 holes and burn the tail ends flush instead of knotting them. This keeps the inside of the pen slot smooth, so the pen doesn’t snag on a lump every time you pull it out.
Handling the Triple-Layer Corner
Plenty of pen cases have a point where three leather edges converge (base plus two walls). For this spot:
- Bevel all three edges at roughly 45 degrees where they meet, so the stack doesn’t bulge outward.
- Stitch the base-to-wall seams first, then close the final wall-to-wall seam last. This traps less stress in that final pass, which matters a lot once the leather dries and stiffens.
- Use a stitching pony or a box-corner clamp to hold the angle steady. Hand-holding alone almost always lets the corner splay slightly, even if you think your grip is solid.
Reinforcing for Long-Term Rigidity
- Burnish all edges after stitching, not before. Stitching naturally shifts edge alignment a little, and pre-burnished edges often end up uneven once the walls come together.
- Add a thin mid-layer of 2-3oz veg-tan or Kydex inside the base if the case needs to survive being crushed at the bottom of a bag.
- Apply edge paint or a gum tragacanth sealant along the stitched corners to lock the fibers down and keep moisture from wicking into the thread channel.
Common Mistakes to Avoid
- Punching holes after folding. This almost guarantees misaligned stitch lines on each wall, and there’s no fixing it after the fact.
- Over-tightening the thread. It puckers the leather and distorts the whole box shape, sometimes in ways you won’t notice until the piece dries.
- Using round-point needles only. A slightly blunted or semi-chisel tip helps the thread glide through pre-punched holes without snagging on waxed fibers.
Conclusion
Advanced box stitching is what turns a flat piece of leather into a rigid, durable pen case that holds its shape for years, not months. The real keys are consistent prep (skiving, templating, pre-marking) paired with a deliberate stitch sequence that locks the corners instead of just joining them. Nail the triple-layer corner and keep your tension even, and your pen cases will have that crisp, boxy precision you normally only see in high-end leather goods.