Maintaining Workshop Humidity Levels to Prevent Veg-Tan Cracking
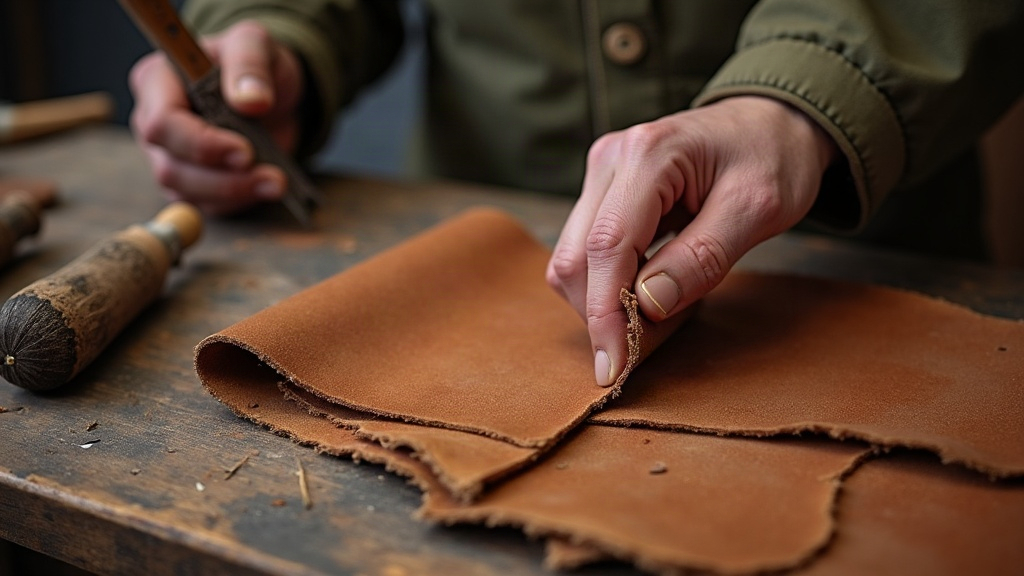
Winter heating dries out the air in most workshops, and that dry air is one of the fastest ways to ruin vegetable-tanned leather. Veg-tan is naturally more sensitive to moisture loss than chrome-tanned leather, because its tannins and fibers depend on a certain amount of ambient moisture just to stay supple. Once humidity drops below 30%, veg-tan starts shedding surface oils and natural moisture. The result: stiffness, surface crazing, and eventually visible cracks, especially at fold lines, edges, and tooled areas. The good news? Preventing this damage takes only a handful of consistent habits and some genuinely cheap equipment.
Why Veg-Tan Is So Sensitive to Dry Air
Chrome-tanned leather is chemically stabilized and holds up fine against moisture swings. Vegetable tanning works differently: plant tannins bond with collagen fibers, leaving the leather more “alive” and far more reactive to whatever’s happening in the room around it. In winter, indoor heating systems (forced air, baseboard, wood stoves) can push relative humidity down to 15-20%, nowhere near the 40-55% range veg-tan actually needs to stay flexible.
Signs your leather is already too dry:
- Stiff, board-like feel when flexing straps or panels
- Fine white cracking lines appearing at fold points
- Edges that flake or chip when burnished
- Tooling impressions that look shallow or “tired,” like the detail just gave up
Ideal Humidity Range for a Leather Workshop
Most professional tanneries and working leathersmiths land on the same number: 45-55% relative humidity for both working and storing veg-tan. Drop below 35% and cracking risk climbs fast. Go above 65%, though, and you’re inviting mold and tannin bloom (that chalky white residue nobody wants on a finished bag). It’s a balancing act, not a “more is better” situation.
Tools to Monitor It
- Digital hygrometer ($10-20): Set one at bench height, away from windows and heater vents, so you’re actually getting an honest reading.
- Smart hygrometer with app alerts: Worth it if your workshop sits in a garage or unheated outbuilding you don’t walk into every day.
Practical Ways to Raise Humidity in Winter
- Run a cool-mist humidifier near your work area. Skip the warm-mist versions; the added heat just speeds up drying elsewhere in the room.
- Set shallow water trays near (not on) heat sources. Evaporation adds passive moisture and costs you nothing in electricity.
- Group leather pieces together in a closed cabinet or bin, ideally with a humidity-controlled pouch (the same kind cigar collectors use works surprisingly well for scraps and small panels).
- Keep leather off exterior walls and away from forced-air vents. Both spots create their own little dry microclimates, even if the rest of the room reads fine.
- Condition leather before winter actually hits. Neatsfoot oil or a dedicated leather conditioner gives the fibers a reserve to draw on once ambient humidity starts sliding.
Workshop Layout Adjustments
Sharing a shop with a wood stove or space heater? A few things help:
- Insulate the leather storage area from direct heat exposure
- Put the humidifier on a timer so it runs during peak heating hours, not around the clock
- Store finished projects in breathable fabric covers rather than plastic. Plastic traps condensation, and that brings its own set of problems
What to Do If Cracking Has Already Started
Light surface dryness can often bounce back with a quick conditioner application and a 24-48 hour rest in a humidity-controlled space. Once cracks have pushed through the grain layer, though, conditioning won’t undo the structural damage. It can slow things down, but it can’t reverse them. That’s really the whole argument for daily humidity checks over winter: catching it early beats fixing it after the fact, every time.
Quick Winter Checklist
- Hygrometer reading checked daily, target 45-55%
- Cool-mist humidifier running near leather storage
- Leather pieces conditioned before the first cold snap
- Storage kept away from vents, stoves, and exterior walls
- Weekly flex-test on a few pieces to catch stiffness early
Conclusion
Protecting veg-tan through winter really comes down to one thing: stable, moderate humidity. A cheap hygrometer, a cool-mist humidifier, and some thought about where you store your pieces can save you from the brittleness and cracking that wreck months of careful tooling and stitching. Make humidity control part of your normal shop routine rather than something you only think about once a strap snaps, and your leather will stay workable, and good-looking, long after the dry months pass.