Beginner Guide to Strop Sharpening Skiving Knives with Rouge
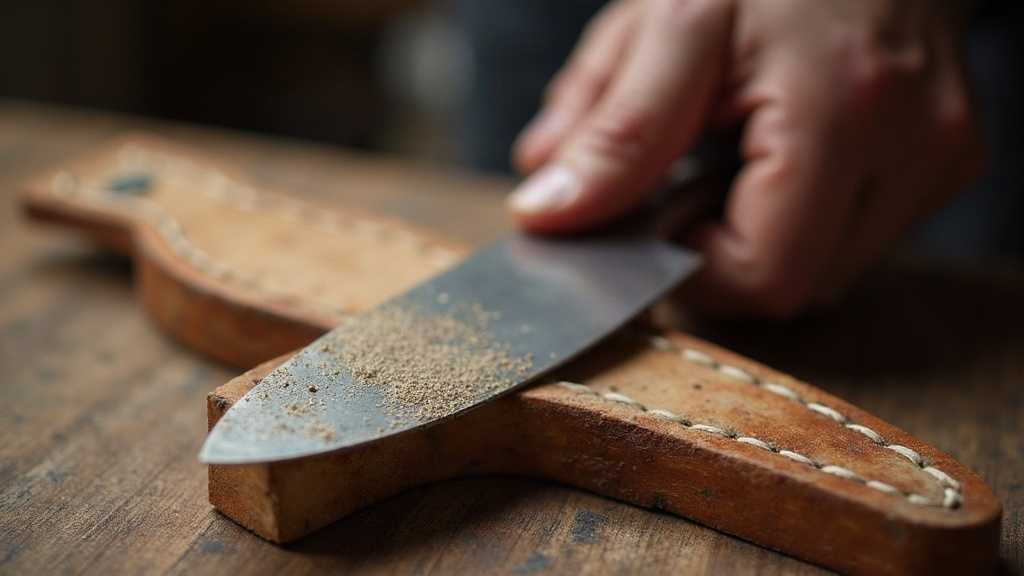
How to Strop Sharpen a Skiving Knife with Jeweler’s Rouge
A dull skiving knife ruins more leather projects than any other tool problem beginners run into. You can have the best stitching technique in the world, but if your blade is dragging instead of slicing, your edges will look amateur no matter what. This guide walks through stropping with jeweler’s rouge, a cheap and surprisingly simple trick that gets your blade to a mirror-polished, hair-popping edge. No stones, no machines, no $200 sharpening system required.
Why Skiving Knives Need Special Sharpening Care
Skiving knives exist to thin leather edges for folding, wrapping, and reducing bulk at seams. That’s a different job than what a utility knife or box cutter does, and it demands a different kind of edge. A good skiving blade should:
- Glide through leather fibers without dragging or tearing
- Leave a smooth, even bevel so your folds come out clean
- Hold its edge long enough to get through dozens of skives in one sitting
Here’s the thing about “sharp enough”: it’s not actually sharp enough. A blade that’s just okay will crush leather fibers instead of cutting through them cleanly, and you’ll end up with ragged, uneven skives that look like they were chewed rather than cut. This is exactly where stropping with jeweler’s rouge earns its keep. It’s the finishing polish that turns a decent edge into something genuinely sharp.
What You’ll Need
Nothing fancy here. Round up:
- A leather strop (thick veg-tan leather works great, smooth side or suede side up, your call)
- Jeweler’s rouge (sometimes called polishing compound, red/green/white grades all do the job)
- A flat, rigid surface to mount the strop on, a wood block or paddle is ideal
- Your skiving knife, already brought to a basic edge on a sharpening stone
One important caveat: if your blade hasn’t seen a sharpening stone yet, stropping alone won’t save it. A strop refines an edge that already exists. It won’t fix a chipped or genuinely dull blade, so don’t skip the stone step.
Step-by-Step: Loading the Strop
- Warm the rouge bar by rolling it between your palms for a few seconds. This softens it just enough to transfer onto leather.
- Rub a thin, even layer directly onto the smooth side of your strop, pressing firmly as you go.
- Don’t overdo it. A thin film beats a thick paste every time. Too much compound actually works against you and dulls the polishing effect.
- Give it about a minute to settle into the grain before you start stropping.
Step-by-Step: Stropping the Skiving Knife
- Lay the blade flat on the strop, matching the same bevel angle you used on the stone.
- Pull backward, spine leading and edge trailing, across the strop. Never push forward. Pushing risks slicing into the leather and rolling your edge over, which undoes everything you’re trying to accomplish.
- Keep pressure light. The rouge does the actual work here. Press too hard and you’ll round off your bevel instead of sharpening it.
- Switch sides every 8-10 strokes so the edge develops evenly.
- Aim for 20-40 strokes per side, checking progress now and then by popping a few arm hairs or slicing a thin strip of scrap leather.
How to Tell It’s Working
You’ll know you’ve nailed it when your knife can:
- Pop arm hair cleanly, no tugging, no resistance
- Glide through a strip of veg-tan leather almost effortlessly
- Show a smooth, almost mirror-like shine along the bevel
Still dragging or tearing after all that stropping? Head back to the stone. Stropping can’t rescue a blade that’s damaged or ground incorrectly in the first place, it’s not a magic fix.
Common Beginner Mistakes
- Pushing the blade instead of pulling it. This is the number one way to dull or chip an edge that was otherwise fine.
- Loading on too much rouge. It turns gummy, and that residue actually hurts your polishing results.
- Letting the angle drift mid-stroke. Even small shifts round the bevel instead of sharpening it.
- Skipping the stone and stropping a truly dull blade. Stropping maintains an edge, it doesn’t restore one that’s already gone.
How Often Should You Strop?
If you’re doing regular leathercraft work, strop your skiving knife:
- Before you start any major project
- Every 10-15 skives if you start feeling slight drag
- Whenever the edge feels “close” but isn’t quite cutting cleanly
Honestly, a 30-second strop before each use is often all it takes to keep the knife razor-ready. You won’t need a full stone resharpening nearly as often if you build this habit in.
Conclusion
Jeweler’s rouge and a basic strop might be the cheapest, fastest upgrade you’ll ever make to your leathercraft kit. Get the pull-stroke technique down, keep your rouge layer thin, and that merely-functional skiving knife becomes a precision tool capable of paper-thin, clean cuts. It’s a small habit, but it pays off fast. Build it into your routine early, and every skived edge you produce from here on will look noticeably more professional.