Designing and Wet-Molding a Traditional Back Quiver for Field Archery
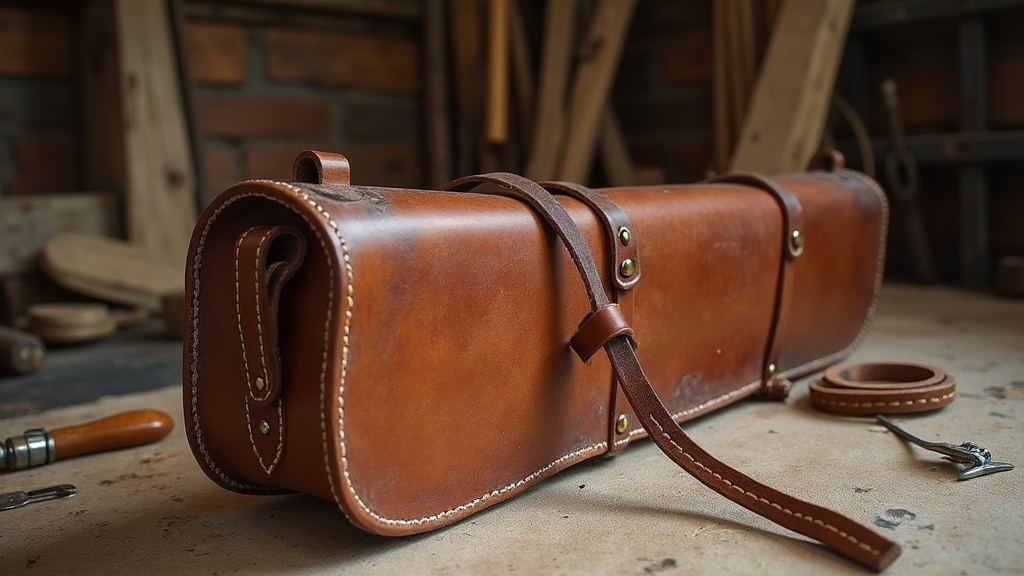
A traditional back quiver, wet-molded from vegetable-tanned leather, blends old-world form with real working function. It sits snug against your back, lets you pull an arrow fast, and holds enough shape to keep your fletching intact even after a rough scramble through brush. This guide walks through the whole build, from pattern to final mold, so what comes out the other end is something you’d actually carry into the woods, not just hang on a wall.
Why Choose a Back Quiver for Field Archery
Hip quivers get most of the attention in target circles, but anyone who’s pushed through brush, scrambled over deadfall, or climbed into a tree stand knows a back quiver earns its keep differently:
- Hands-free movement through dense terrain, no arrows snagging on every branch you pass
- Faster nocking, since the arrows sit at a consistent angle over your shoulder
- Better arrow protection, with fletching standing upright and clear of mud and debris
- Balanced weight distribution across your back instead of dragging on one hip all day
There’s a trade-off, sure. In a quick-draw situation, a hip quiver edges it out. But for a slow stalk or a long afternoon on a 3D field course, the back quiver is still what most traditional and instinctive archers reach for.
Designing the Pattern
Measure Your Arrows and Body
Before you touch a blade to leather, take these measurements:
- Arrow length (include broadheads or field points if that’s what you’re shooting)
- Shoulder width, plus the distance from shoulder to opposite hip, for the strap
- Desired arrow capacity (6 to 12 arrows covers most field use)
Cut the body too narrow and you’ll crush the fletching. Cut it too wide and arrows rattle around, maybe even fall out mid-stride.
The Classic Cone Shape
Nearly every functional back quiver follows a tapered cone: wide at the mouth so fingers and fletching have room, narrower at the base so the arrow tips bunch together instead of tangling. A workable starting pattern:
- Top diameter: 5 to 6 inches
- Bottom diameter: 2.5 to 3 inches
- Body length: 2 to 3 inches shorter than your arrows, so the points stay tucked in but the nocks remain easy to reach
Draft the pattern on paper first. Wrap it around a cardboard tube to check the proportions before you ever touch leather. It’s a five-minute step that saves you from ruining a good hide.
Choosing and Cutting the Leather
Go with 7-9 oz vegetable-tanned leather for the body. That weight is thick enough to hold a mold permanently once it’s dried, but it still gives when wet. For the strap and any decorative overlays, 4-5 oz leather is plenty.
Cut these pieces:
- Body panel (the cone, usually one seamed piece)
- Bottom disc (cut a touch larger than the base circumference for a welted seam)
- Strap and shoulder pad
- Optional belt loop or hip stabilizer strap
Skive the edges that will overlap at the seams, this cuts down on bulk, and mark your stitch lines with a wing divider before the leather goes anywhere near water.
Wet-Molding the Quiver Body
This is the part that turns a flat pattern into something rigid and body-shaped. Don’t rush it.
Step 1: Case the Leather
Submerge the cut body panel in lukewarm water until the bubbling stops (usually 1 to 3 minutes, depending on thickness). Then wrap it in a towel and let it rest for 10 to 15 minutes, until it’s cool to the touch and workable. Leatherworkers call this “casing,” and getting the timing right matters more than people expect.
Step 2: Form Around a Mold
Roll the cased leather around a form, a wooden cone block, a rolled tube, even a tapered foam mold cut to your exact pattern. Glue the overlapping seam with leather cement, then clamp or lace it temporarily while it’s still damp.
Step 3: Shape the Curve for Your Back
While it’s still damp, press the quiver against your own back (or a mannequin, if you have one handy) to coax in a slight curve that follows your spine. This one step is what separates an actual back quiver from a glorified leather tube. That curve is what keeps it riding close and comfortable over a five-mile walk.
Step 4: Dry Slowly
Let it dry at room temperature for 24 to 48 hours, away from any direct heat (a heater or sunny windowsill will warp or crack it). Stuff the inside loosely with plastic bags or a foam form so it holds its shape as the moisture leaves.
Stitching and Finishing
Once it’s fully dry, stitch the seam permanently with waxed thread, saddle stitch holds up best over years of use. Attach the bottom disc with a welted seam so moisture and trail debris can’t work their way in. Then finish it off:
- A buffed coat of leather conditioner or a beeswax-based sealant
- Beveled, burnished edges for a clean finish
- Rivets or Chicago screws at the strap’s stress points
Attaching the Strap System
For field use, a single diagonal strap across the chest does most of the work, but add a side stabilizer strap that cinches the quiver against your ribs so it stops bouncing on the walk in. Adjustable buckles let you fine-tune the angle depending on which side you draw from.
Conclusion
A wet-molded back quiver ranks among the most satisfying leatherworking projects a field archer can take on. It’s part pattern-making, part sculpture, since you’re literally forming the leather to your own body. Spend the extra time on the pattern and the molding stages, that’s where the real craftsmanship happens. Do it right, and the quiver you end up with will outlast dozens of seasons, getting more comfortable with every mile you put on it.